 English
 Français
LiveTweetApp’s Quick Start Guide on Social Wall Creation
LiveTweetApp is very straightforward to use. In this article, we’ll guide you through the seven main steps to launch your Social Wall on a big screen.
1. CREATE YOUR ACCOUNT
You need an account to start. You can create it here.
2. CREATE YOUR FIRST WALL
Find a name for your first wall, but don't worry too much, this name will never appear in anywhere but the app.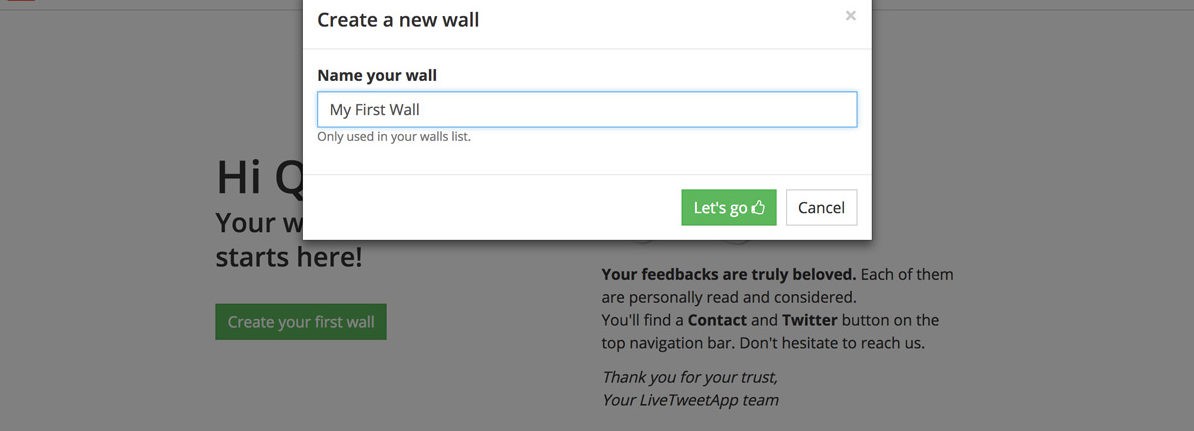
3. SETUP YOUR SOURCES
After your wall creation, you land on the sources page. There, the screen split in two rows : sources and settings.In the Sources row, you can connect to your Twitter account.
Update: As from December 11th, 2018, we are not offering Instagram search anymore. Despite below screenhots still indicating so.
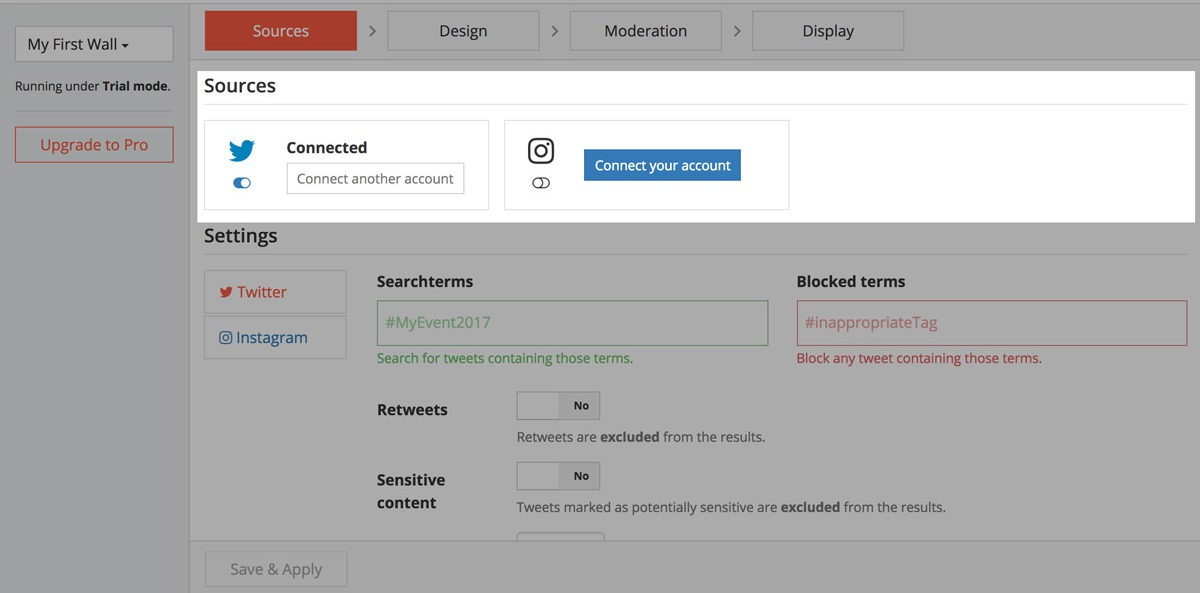 In the Settings row, you can set up what content you wish to collect in moderation. You can search for tweets containing a specific hashtag, posted by a designated user, containing a mention or any word: hashtag, mentions, users go in the Searchterms field.You may block content from the Blocked terms field. There are also additional fields to set up your elements collection.
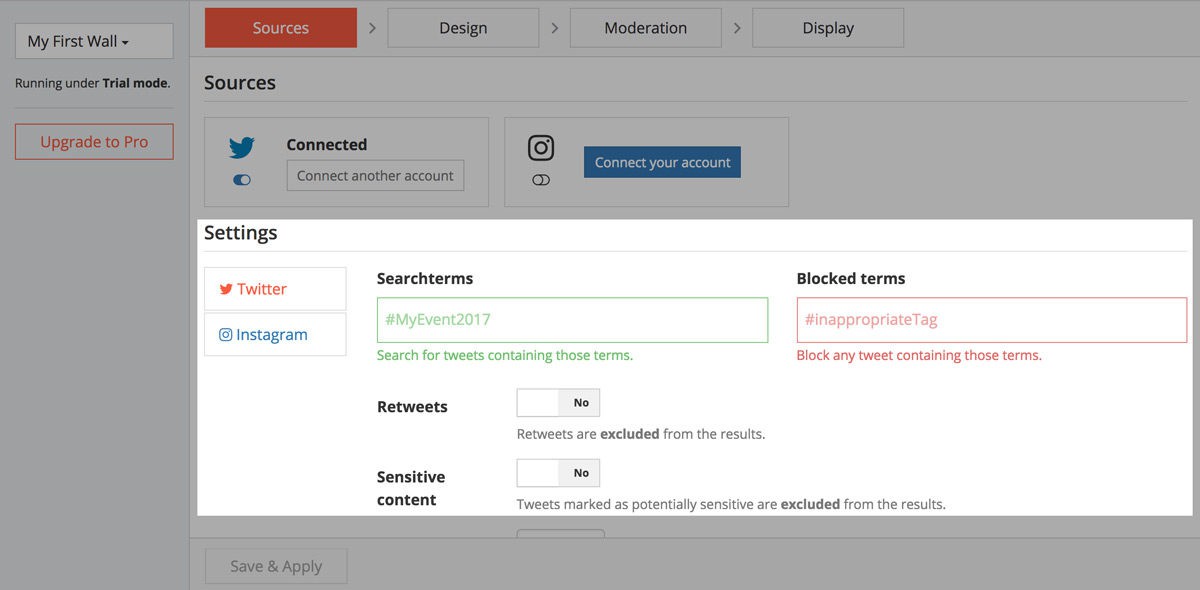 When you’re done, save the settings. You can always change them later.
4. CUSTOMIZE YOUR WALL
The next step is the funniest, that’s where you customize the design of your Wall.We’ll be short in this section because each setting has some instructions written below its field; we strongly recommend to play around!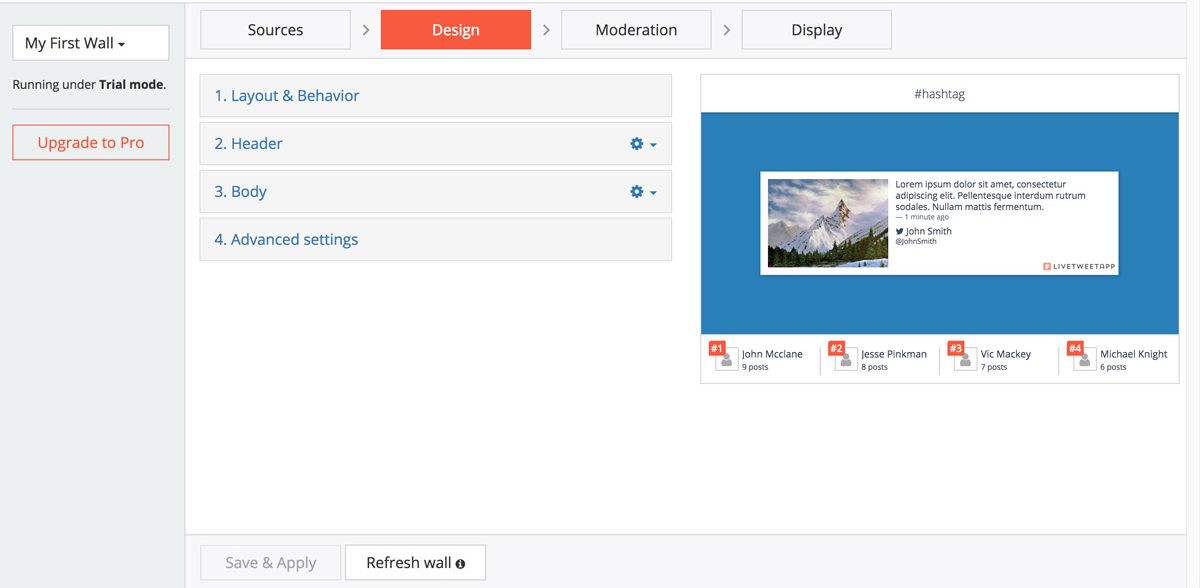 The Design page is divided in 4 tabs.
- In Layout & Behavior you change the general settings of your wall : display mode, timing for transitions, ...
- In Header you can change the title of the wall and add some pictures as logo or sponsor
- In Body you can change the design of your wall : font, colors, background color and image
- In Advanced Settings you can write additional CSS to customize even further your wall
The preview on the right will be updated in real time.
5. MODERATE YOUR CONTENT
In the Moderation page, the application gather content based on your Settings.On each elements collected, you will see:
- its content
- its picture (if any)
- its author and the time it was posted
- 2 actions : Accept or Reject
By default you have to moderate every element before it’s been shown on your wall. This gives you complete control over what is broadcasted to your audience.In trial mode, you are limited to 30 elements collected. With a pro pack, this limit is gone, plus you can disable the moderation in the menu under the cog button.Accepted elements are sent to your wall and are ready to be displayed.Every time new elements are collected according to your settings, you will be notified on the moderation page : a button will invite you to add these new elements on top of the existing list.Once you’ve accepted a few elements, it’s time to see your Wall in action.
6. LAUNCH YOUR WALL
The Display page is your launch platform.The app gives you the link of your wall and a big green button to open it in a new tab in your browser.Below you will find some tips and instructions for your broadcasting situation.Hurray, your wall is live and running!It’s common to have both the Moderation page and the Wall at the same time. Make the test, leave the Display open and go back accepting a few elements. Wait a few seconds, it gets displayed on your wall.
7. UPGRADE YOUR ACCOUNT
For now, you’re running under Trial Mode. It’s great and useful to preview and test your wall. LiveTweetApp won’t grab more than 30 elements in this Trial mode though and it can not be used for a real event. You can buy a Pro Package using the sidebar Upgrade to Pro button.
With that completed, you’re ready to provide a better experience for your attendees.